| Triumph 675 EVO Shift Kit Install | |
|
and you need..... 1. Triumph Shop Manual 3. Normal mechanic's tools 4. allen wrench set 5. Torx wrench set 6. 1/2" Impact wrench 7. deep 32mm socket 8. 6mm, very slightly tapered pin |
|
| If this intimidates,
you..... Slowly step back away from the 1/2 air impact wrench...... |
|
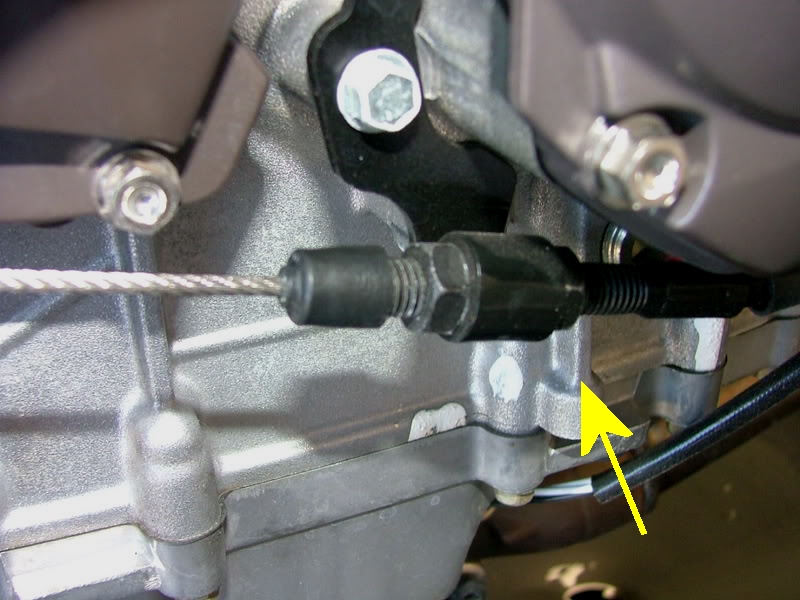
| Loosen up clutch cable adjuster. |
 |
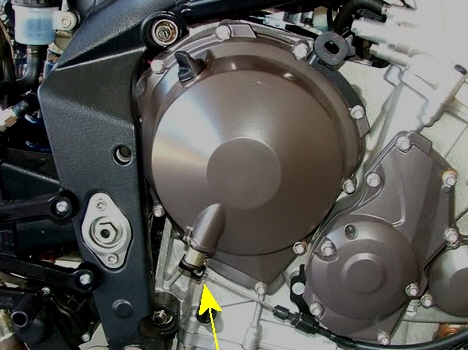
| Unhook cable end from clutch
arm. Remove clutch cover bolts and cover. |
 |
|
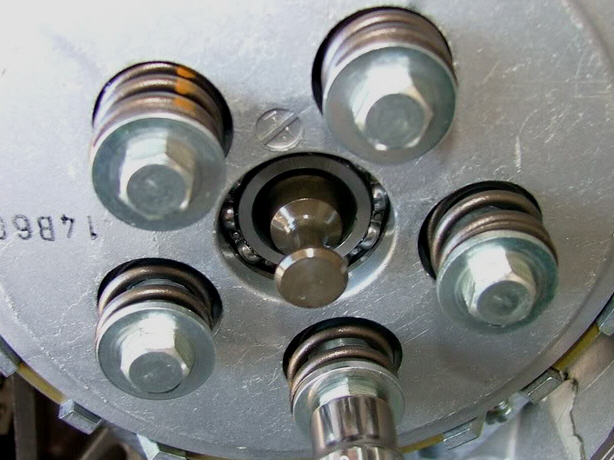
Remove the 5 clutch bolts and springs. Remove outer pressure plate. |
 |
| Here's what the inside of your pressure plate looks like. | 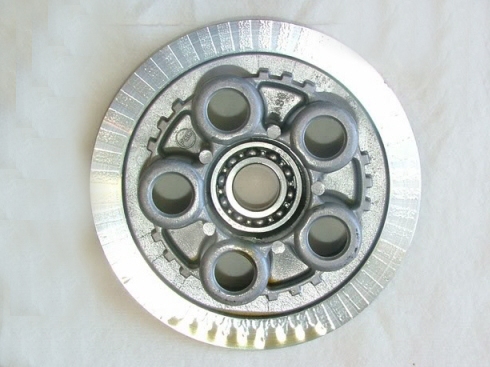 |
| Use 1/2" air or electric impact wrench and
remove the 32mm clutch nut. With an impact wrench, you don't need a clutch
holding tool. When removing the plates, keep them in the correct order (that's one reason to have a Triumph Service manual). Remove the clutch pusher. |
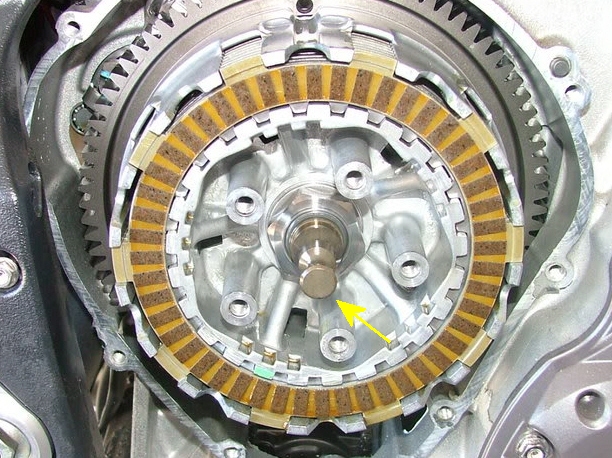 |
| After removing the 32mm nut and the "outside" facing bellville washer. |
|
| Insert slightly tapered 6mm pin into the 6mm hole
to line up the split primary gears. Or you will never get the center
spacer and bearing out. See next picture. |
|
| With the split gear held in alignment,
gently remove the clutch center bushing and clutch center bearing. Might take 3
hands to hold 2 pliers and gently tap the clutch basket. Use that tenacious grip that 2 good, new Snapon needle nose pliers are known for. |
|
|
|
|
| This is what it looks like under the clutch
basket. Remove these 2 Torx screws and the clutch oil splash plate. |
|
| On the left side of the bike, remove the shift linkage from the shift shaft and slide the shift shaft out - to get access to the shift star. |
|
| Unscrew the center allen bolt for the stock shift
star. Pretend the bolt is out in the pic, lever the arm away from the star (to make the star easier to remove), reach in with those good Snapon needle nose pliers and remove the stock star. Set the new Factory Pro Shift STAR in place - using that screwdriver to keep the detent arm down while you place the new STAR into it's "only fits one way" slot - When roughly in place, lightly thread in the retaining screw in and rotate the Shift STAR until you feel it drop into it's shift drum pin slot. It doesn't have to be in any particular gear position. (in case you were wondering)
Rotate the shift star till it reaches the end of it's
travel (it will be 1st or 6th). Good idea to use a drop of LocTite - (6-8ftlbs torque). |
|
| Check that the bike
shifts through all the gears.
You will have to turn the clutch shaft back and forth
to let the gear engagement dogs and slots to line up to complete each shift. If it doesn't shift through all the gears, something's not aligned
in the shift mechanism. |
|
| All OK? Put all the rest of this stuff back on. (use that Triumph Service Manual!) Definitely use LocTite on the clutch nut and torque to factory specs. Remember! Your If in doubt at all - do what your manual says. |
|
| Do all
safety checks necessary. Test ride carefully! Any problems? Call 800 869-0497 ask for Tech Enjoy your new sweet shifting! Marc Salvisberg |
|